
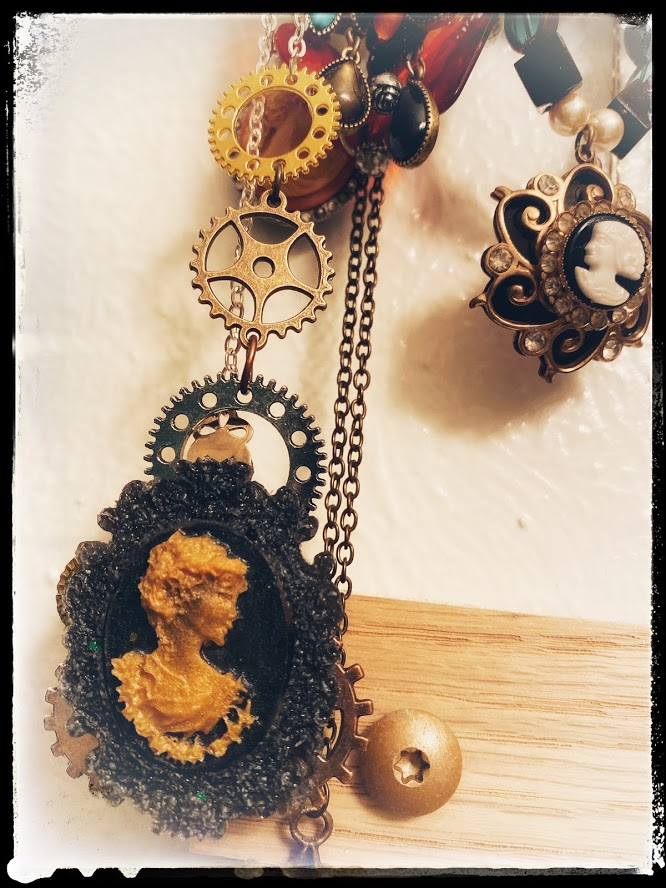
I have several cameo silicone molds. Cameos bring me great joy and I have had a lot of fun creating my own designs. I thought it would be fun if the gears were coming out of the actual cameo.
.
The cameos have to be done over two days. The face and body need to be painted and let dry before adding the background. I mixed one batch of resin and divided it up into different jar lids. The Let’s Resin kit has pigments and sparkles. I’ve noticed the sparkles make bubbles more likely to form.

I mixed up a silvery black for the frame. Using a paintbrush, I filled up the frame. The gears were inserted and positioned in a way to for them to show from the front. I painted the faces of the cameo gold. I wanted it to look more metallic. The next day I mixed up the silvery color to pour over the gold body.
After the cameos had hardened for 24 hours I popped them out of their molds and glued them to the frame.

Materials
Cameo silicone mold with frame
Resin
Pigment
Gears
Step one
Mix resin
Step two
Divide resin for two colors. The cameo face will not need much resin.
Step three
Mix up frame color
Step four
Fill the frame with resin.
Step five
Insert gears to show outside of the frame and add a bail.
Step 6
Mix resin for the face of cameo
Step 7
Use a paintbrush to fill cameo face (allow to dry 24 hours)
Step 8
Next Day
Mix resin
Step 9
Add pigment to resin
Step 10
Fill the cameo mold over the painted face
Step 11
All to dry 24 hours
Step 12
Glue cameo face into the frame