


When we first bought our tale is was a beautiful cherry stain. At some point it got a water mark on it and some scratches. It had a layer of real would and I thought I could sand it down and re-stain it. That didn’t work out and so I was able to try covering the table with decorative tissue paper.

When I sanded down the table it became clear that there was a very thin layer of wood on top of particle wood. There were spots that would have shown when stained.


I will tell you what I did but in some steps, I would do it differently. Napkins would probably work better than tissue paper. They are more absorbent and thinner.

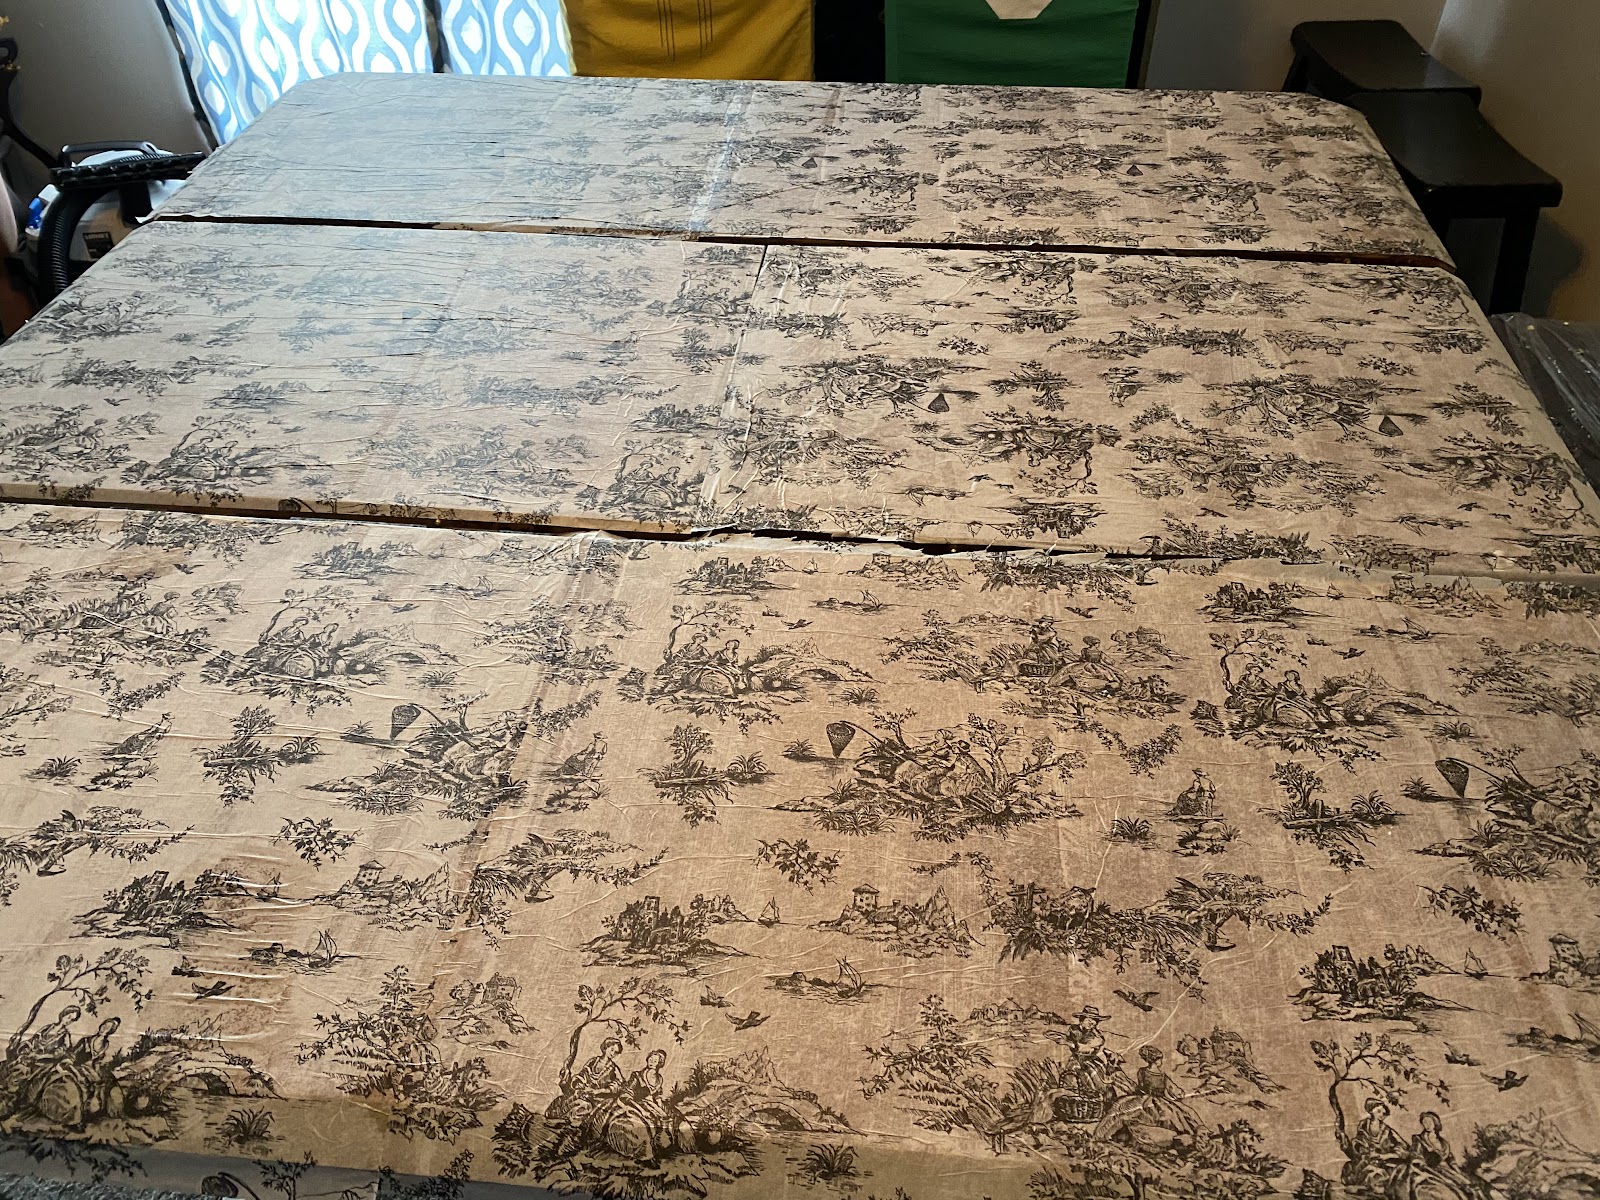
The tabletop was sanded and clean but I don’t think it would need to be sanded. I put a layer of modge podge on a little at a time and laid down the paper. On my table, you can see the lines of where I did a little at a time. I put a layer of modge podge on top.

This is the step I would remove. The reason I wouldn’t do that again is because I have a spot where I missed a section of modge podge. In that spot, it is much darker and you can see through the paper more.
I suppose if you want your paper more transparent do not add modge podge but if you want to have more of the paper color use the layer of modge podge.

I wanted to make sure I had a strong top coat. I went to the lumber store and spoke with the paint/stain/everything expert and asked her what she recommended.
I put on three coats. It has held up well. I have discovered It does not like hot glue or maybe it does because it went with the hot glue.

I enjoyed this project because I took a table that was in bad condition and made it into something stunning.
Have you ever used tissue or napkins on a project?

Materials needed
Table top or dresser top
Tissue paper or napkins
Modge podge
Paint brush (2)