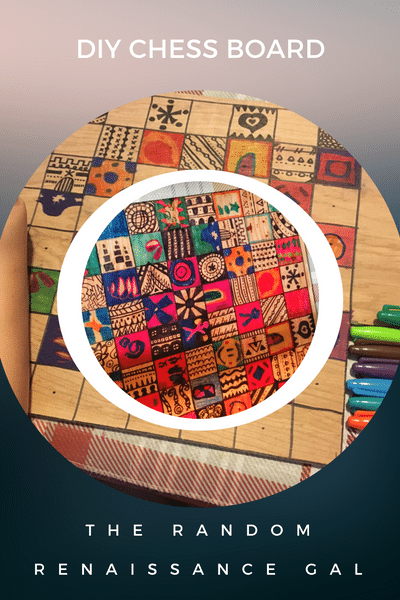
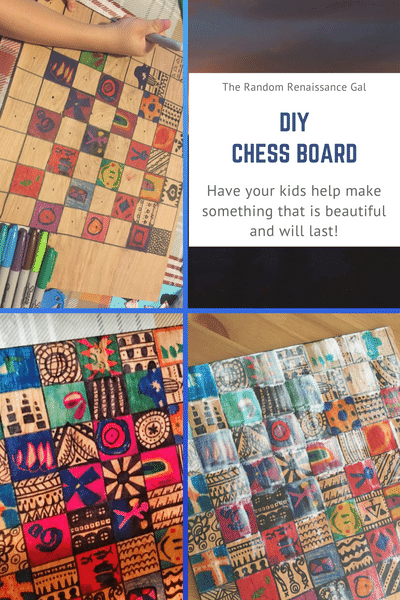
My son has enjoyed art basically since he was able to pick up a crayon. I am always on the lookout for ways we can preserve his artwork. This easy DIY chessboard is a great way to make a sturdy piece to admire forever.
We always keep the wood remnants when we work on different projects. I saw a piece sitting under the saw and I thought, “That looks like the perfect size for a chessboard!” I brought inside, researched how many squares a chessboard has, and marked out the lines with a ruler and sharpie. It was a super simple project with a rather stunning finish.
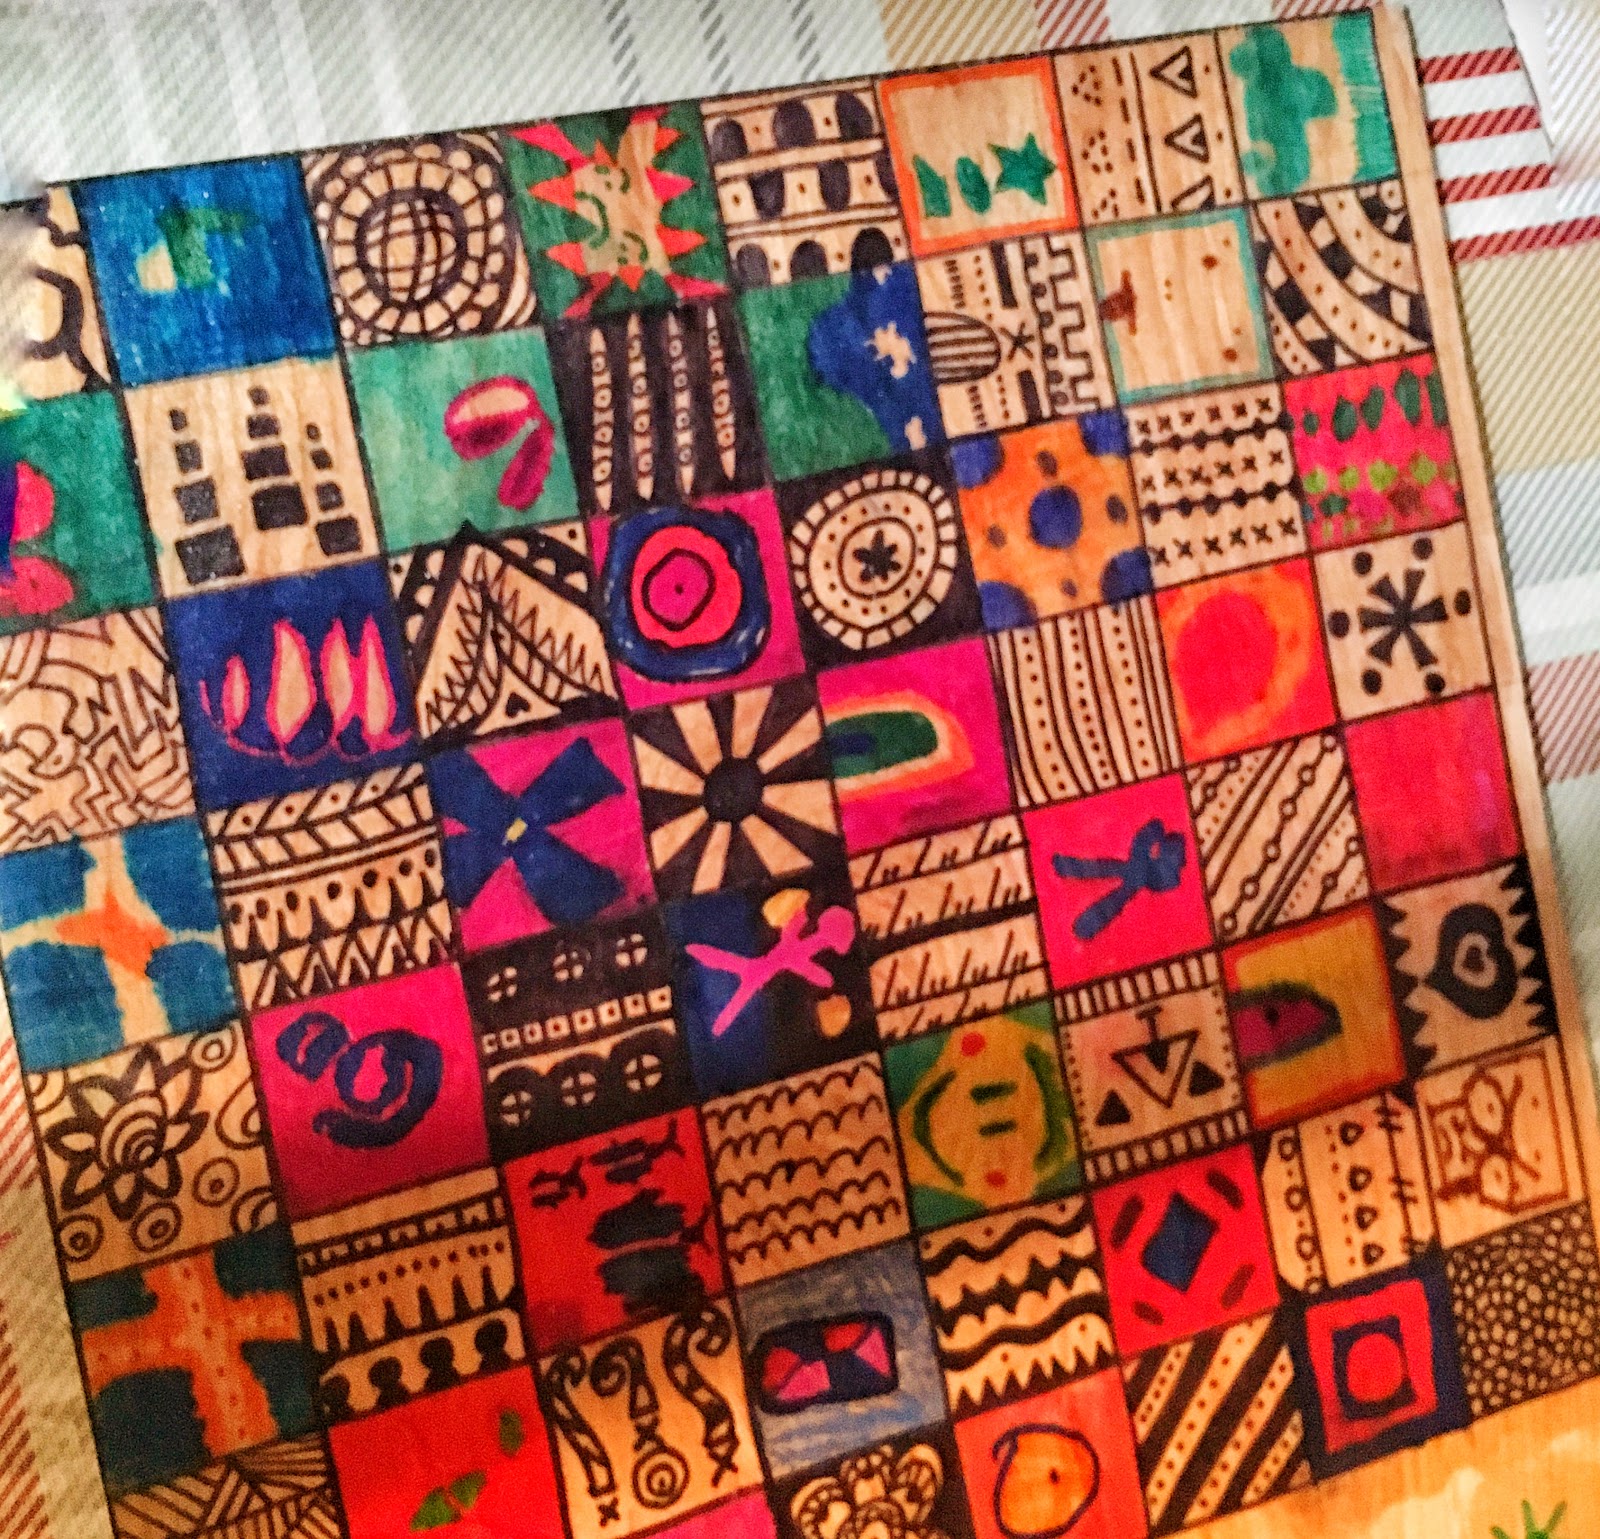
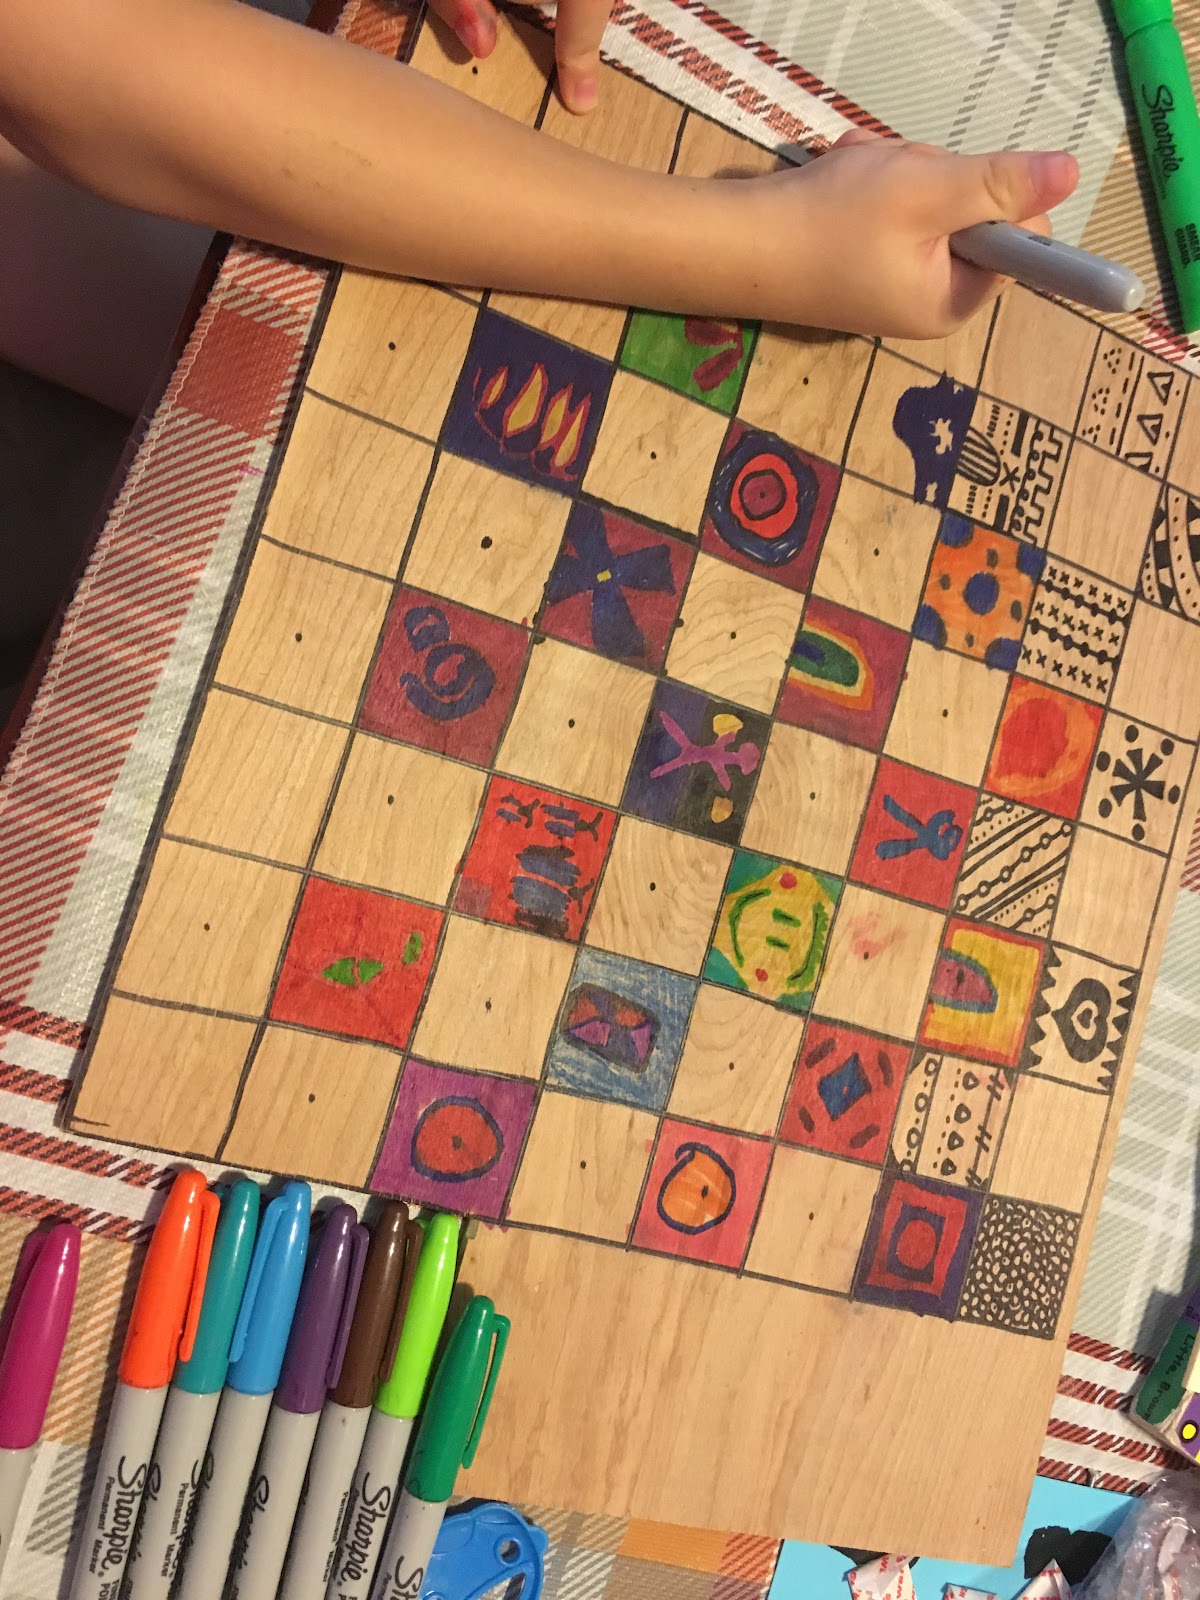
My oldest son likes to do things with me. I like to do things with him so it is a win-win. I especially like doing crafty things together. I knew I wanted him to draw neat things in the squares but I also knew he would not do the whole thing. I told him I would draw every other square in black and he could do every other square in whatever color he wanted.
After we finished our drawing I put modge podge over the top. I did this just to made the surface smooth. It made the board look like it had been stained many beautiful colors. I would not skip the modge podge step!
We made checker pieces for the board using poker chips and magazines. We used all black and white pictures for half the pieces and colored images for the other half.

You should not use brown, dark purple, dark blue, or yellow on the colored squares because they look too similar to the black and yellow looks too similar to the wood.
Materials
- A square piece of wood
- Sharpies
Step 1
Find a square piece of wood
Step 2
Draw 64 squares in an 8×8 design with pencil
Step 3
Trace of lines with a black sharpie
Step 4
Color every other square with a black design
Fill in the rest of the squares with colorful designs. Do not use brown, dark purple, dark blue, or yellow on the colored squares because they look too similar to the black and yellow looks too similar to the wood
Step 5
Paint modge podge over the squares.
I painted one square at a time because the colors were wanting to blend.

Step 6
Cut out magazine pictures to the size of poker chips
Step 7
Modge Podge pictures on poker chips
This simple project will preserve your child’s art and create happy memories!